Learn how a pinhole camera works, its simple design principles, and follow step-by-step instructions to build your own DIY pinhole camera at home.

Pinhole Camera | Simple Design, Optic Basics & DIY Craft
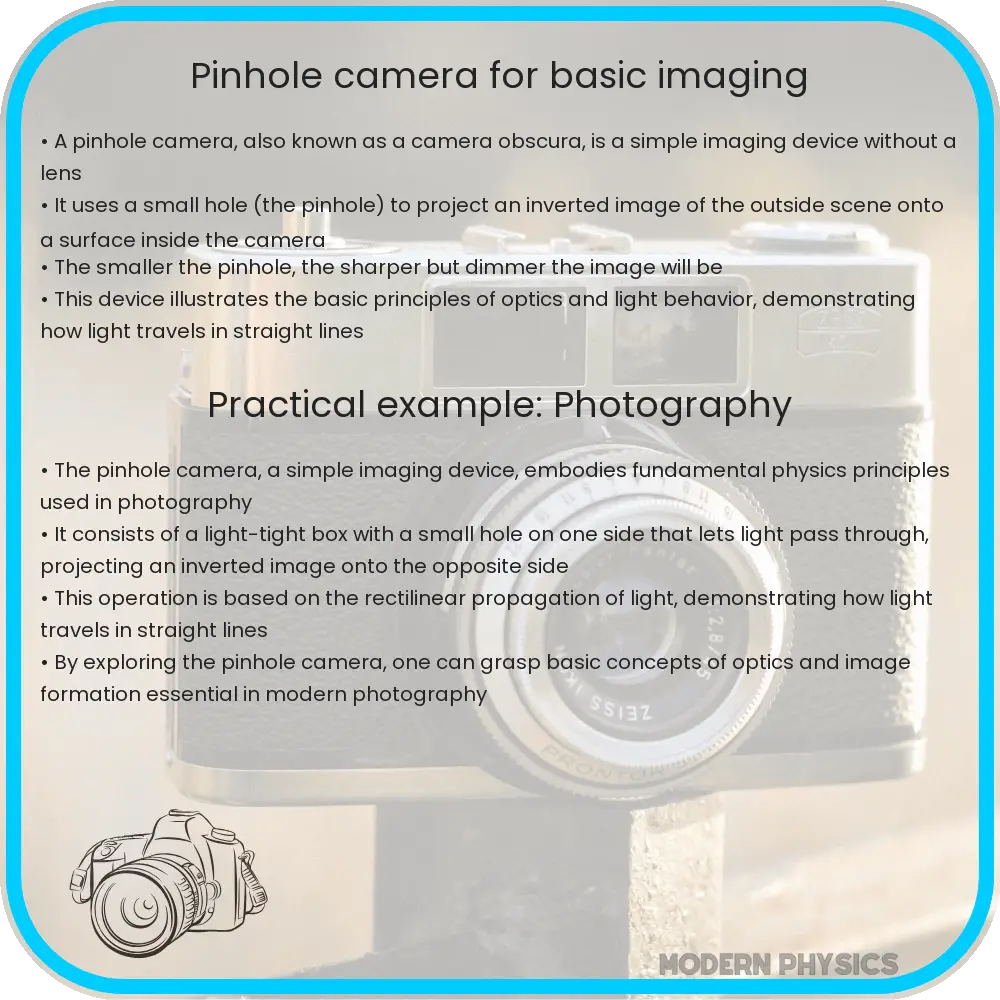
A pinhole camera is a simple yet fascinating device that beautifully illustrates the principles of optics. Unlike modern cameras, it doesn’t use lenses. Instead, it relies on a tiny hole to project an inverted image onto a surface. This basic setup makes it an excellent tool for understanding how light behaves and how images are formed. In this article, we’ll explore the basics of how a pinhole camera works, its design, and how you can create your own pinhole camera at home.
Understanding Optics: How a Pinhole Camera Works
The core principle behind a pinhole camera is simple: light travels in straight lines. When light rays from an object pass through a small hole, they don’t scatter in all directions. Instead, they create a distinct image on the surface opposite the hole. Because light from the top of the object passes through the hole and hits the bottom of the image plane, and vice versa, the image formed is inverted.
Let’s delve a bit deeper into the optics:
Components of a Pinhole Camera
The design of a pinhole camera is elementary, requiring minimal materials. Here’s a breakdown of its core components:
- Box or Container: This serves as the camera’s body. It can be any opaque container that lets no light in other than through the pinhole.
- Pinhole: A very small hole, often made using a pin or a needle. The smaller and rounder the hole, the sharper the image will be.
- Screen: Opposite the pinhole, there must be a photosensitive surface to capture the image. This could be a piece of film or photographic paper or simply a translucent material like tracing paper if you just want to view the image.
Building Your Own Pinhole Camera: A DIY Guide
Now, let’s create a simple pinhole camera at home. For this DIY project, you’ll need:
- A small box with a lid (a shoebox works well)
- Aluminum foil
- A pin or needle
- Black tape or paint
- Wax paper or white paper
- Scissors
- A piece of dark fabric or tape to act as the shutter
Step-by-Step Instructions:
With these simple steps, you’ve constructed a basic pinhole camera. But how do you use it, and what should you expect to see? Let’s move on to the next section to learn how to capture images with your homemade pinhole camera.
Using Your Pinhole Camera
Now that you have built your pinhole camera, it’s time to capture some images. Here are the steps to use your camera and what to expect:
- Find a well-lit scene to photograph. The pinhole camera works best with plenty of natural light.
- Point the end with the pinhole towards your subject. Make sure to keep the box steady.
- Open the shutter by removing the dark fabric or tape from the pinhole. Allow light to enter the camera and create an image on the screen.
- Observe the screen opposite the pinhole. You should see an inverted (upside down and reversed) image of your subject.
- If you are using photographic paper or film, cover the pinhole after an appropriate exposure time to capture the image. This time can vary depending on the light conditions, ranging from a few seconds to a couple of minutes.
After capturing the image, if you used photographic paper or film, follow the proper development process in a darkroom to see your final photograph.
Physics Behind A Pinhole Camera
Let’s dive a little deeper into the physics behind this simple yet fascinating device:
- Light Propagation: The fundamental principle that light travels in straight lines explains why the pinhole camera works. Light rays originating from a point on the subject pass through the pinhole and converge at a corresponding point on the screen, forming an image.
- Image Formation: Due to the small aperture, light from each point on the object reaches only specific points on the screen, creating a coherent image. Because light rays cross at the pinhole, the image is inverted.
- Image Sharpness: The smaller the pinhole, the sharper the image because the light rays passing through any point on the screen are more focused. However, if the pinhole is too small, diffraction may cause the image to blur.
Applications and Modern Relevance
Although modern cameras have advanced significantly, the principles demonstrated by a pinhole camera are still relevant and widely used. Here are a few applications:
- Photography: Pinhole photography is a recognized art form. Many photographers use it to achieve unique, classical, and ethereal images.
- Education: Pinhole cameras are an excellent educational tool, helping students understand the basics of optics, light propagation, and image formation.
- Scientific Research: Some scientific instruments and experimental setups use pinhole principles to control light paths and image formation.
Conclusion
A pinhole camera is a simple yet powerful tool that demonstrates the fundamental principles of optics and light behavior. By constructing and using your own pinhole camera, you gain insight into how light travels, how images are formed, and how simple materials can create complex phenomena. Whether for educational purposes, artistic photography, or just to satisfy your curiosity, building and experimenting with a pinhole camera offers an enriching experience that connects basic physics concepts to practical applications. So, grab some materials and start exploring the fascinating world of pinhole photography today!
